Wells and Borings
- Request/Look-up Services
- Wells and Borings Home
- Well Tested? Well Done SE Minnesota
- CEUs
- Construction of Wells and Borings
- Contractors
- Fees
- Laws and Rules
- Licensing
- Minnesota Well Index
- Natural Disasters
- Permits
- Publications
- Resources
- Sealing of Wells and Borings
- Special Construction Areas
- Water Quality and Testing
- Water Information
- Well Disclosure
- Well Partners
Wells Program
Related Topics
- Accredited Laboratories/Well Water Testing
- Clean Water Fund
- Contaminants in Water
- Flooded Wells
- Pesticides
- Water and Health
Environmental Health Division
Well Disinfection
- Well Disinfection: English (PDF)
- Well Disinfection: Hmong (PDF)
- Well Disinfection: Somali (PDF)
- Well Disinfection: Spanish (PDF)
You can disinfect your well by following these instructions, or you can hire a licensed well contractor.
Safety concerns

Be sure to do the following to ensure your safety and that of your family, pets, and livestock.
- Read this entire brochure before starting to disinfect your water system.
- Keep children and animals away from the well area while disinfecting.
- No one should use water from the water system until the disinfection procedures are done.
Electrical
Use extreme caution when working with electricity and water. Together, water and electricity can be deadly. If you are not confident in your ability to work safely with electricity, contact a licensed well contractor to disinfect your well.
Chemical
- Always follow the manufacturer’s use and safety directions.
- Avoid eye and skin contact. Wear protective goggles or a face shield and rubber gloves when working with bleach.
- Do not mix bleach with other chemicals as they may form harmful gases.
- Do not leave bleach or the bleach solution unattended.
Respiratory
- Disinfection can create harmful gases. The area around the well must be well ventilated.
- Harmful gases can accumulate in well pits and create a lack of oxygen.
Procedure for water system disinfection
Equipment needed
- A garden hose long enough to reach from your water faucet to the well. This hose also needs to reach an area away from your well, septic system, landscaping, and water bodies.
- Clean 5-gallon bucket.
- Funnel.
- Plastic tarp.
- Protective goggles/face shield and rubber gloves.
- Five gallons of fresh water from a source known to be free of bacteria, such as a municipal water system.
- Chlorine test strips.
- Unopened, unscented household chlorine bleach with no additives, manufactured within six months of use. The label will say the active ingredient is 6 or 8.25% sodium hypochlorite. Do NOT use swimming pool or hot tub disinfectants as they typically contain algicides and fungicides.
STEP 1 - Isolate critical areasTurn or push the bypass valves to the “bypass” or “out of service” position for all water treatment devices (water softeners, reverse osmosis systems, etc.) and appliances that cannot tolerate bleach. These may harbor organisms and need to be disinfected separately. Follow manufacturer’s instructions for disinfection procedures. | 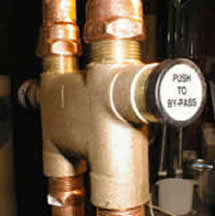 |
STEP 2 - Electrical safetyTurn OFF the electrical power to the pump. If the circuit breaker box has a lockout hasp, use it to prevent the breaker from being accidentally turned ON. Always use a voltmeter to verify that power has been cut to the well before proceeding with the disinfection process. | 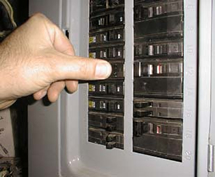 |
STEP 3 - Open the well
| 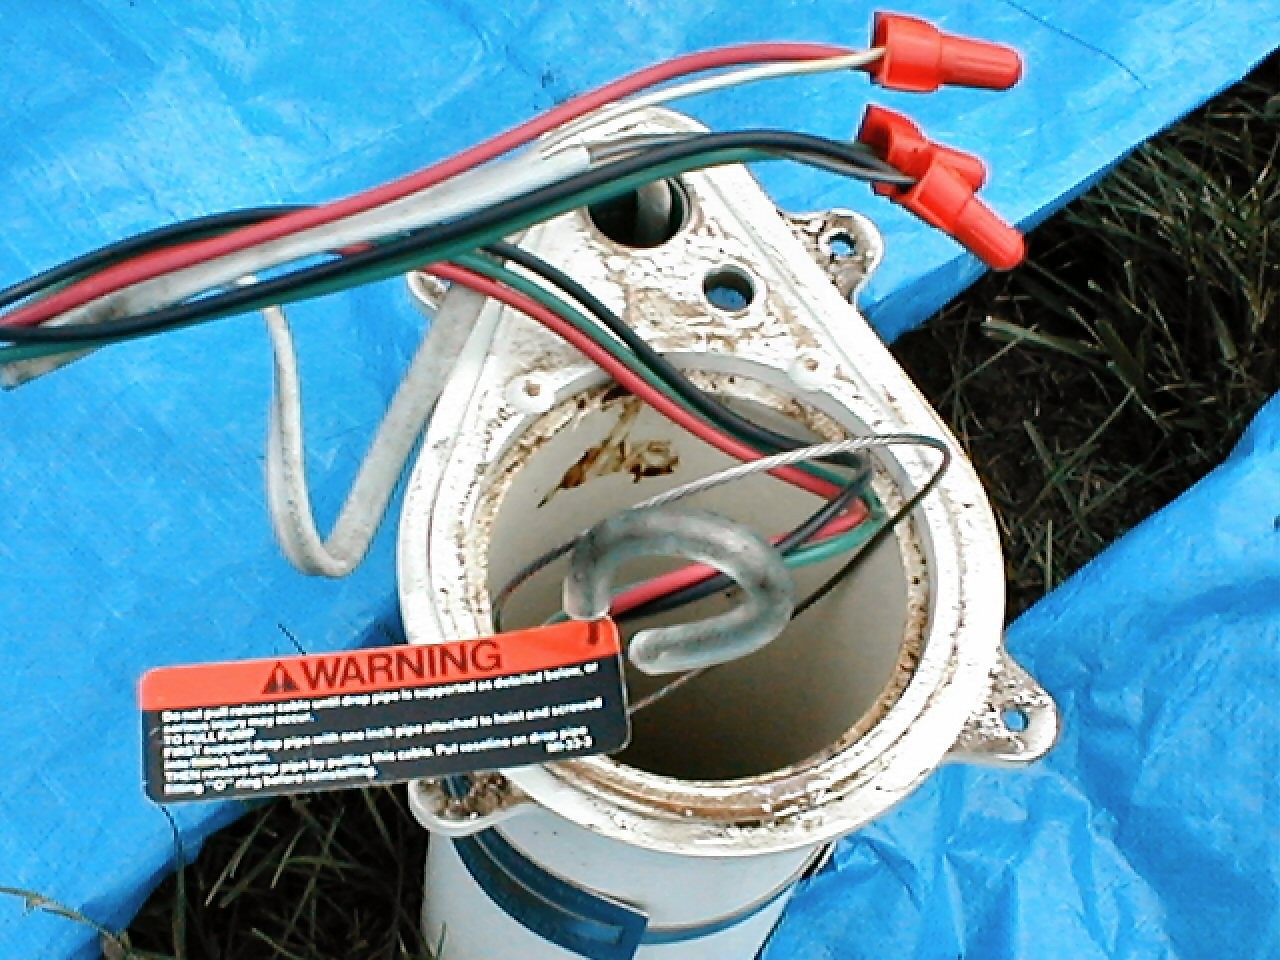 Figure 1 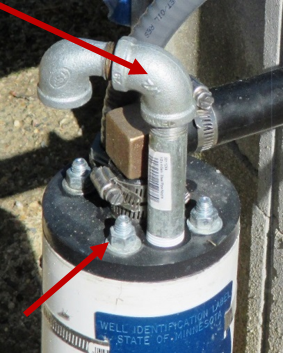 Figure 2 |
STEP 4 - Inspect these components
It is important that any plumbing or well defects are fixed so that surface water, insects, vermin, or other contaminants cannot enter the well. |
STEP 5 - Mix a bleach solutionWater chemistry and water system sizes vary. These differences will determine the amount of bleach solution needed to properly disinfect your water system. You want between 50-200 parts per million (ppm) of chlorine in the recirculating water (Step 7) for disinfecting your water system. Do not use a bleach solution greater than 200 ppm as it will reduce the disinfection effectiveness.
|
| Amount of water in well (feet) | 2-inch diameter | 4-inch diameter | 6-inch diameter |
| 10 | 2 cups | 2 cups | 2 cups |
| 50 | 2 cups | 2 cups | 3 cups |
| 100 | 2 cups | 3 cups | 4 cups |
| 300 | 3 cups | 4 cups | 10 cups |
The amount of water in a well is the total depth of the well minus the static water level. If the amount of water in the well is unknown, go to Minnesota Well Index or contact MDH. If unable to determine the amount of water in the well, use the total depth of the well instead.
This table’s bleach solution is good for disinfecting a well and the water system in an average home, including water pipes, water tanks, and water heater. Reduce the amount of bleach by 1 cup if only the well needs to be disinfected. You may need to increase the amount of bleach solution if:
- The water system contains multiple buildings,
- Has large amounts of distribution piping or water storage, or
- If you’re disinfecting because your well was flooded, has nuisance bacteria, or is a larger diameter well.
STEP 6 - Add bleach solution to the well
| 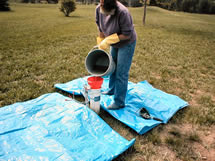 |
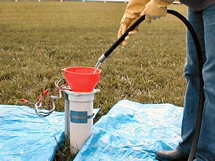
STEP 7 - Recirculate chlorinated water
|
STEP 8 - Bring bleach solution to all faucets and fixtures
|
STEP 9 - Disinfection time
|
STEP 10 – Remove the chlorinated water
|
STEP 11 - Disinfect water treatment systems and appliancesTo disinfect water treatment systems and appliances, follow the manufacturer’s instructions for each water treatment device or appliance. If disinfection information is unavailable, contact your water treatment or appliance service provider. Bleach solutions may damage or improperly disinfect filters that are a part of a water treatment system or appliance. |
STEP 12 - Reconnect appliances, water softeners, and other treatment devicesReturn bypass valves to the ON position after following the manufacturer’s directions for disinfecting appliances and water treatment devices. |
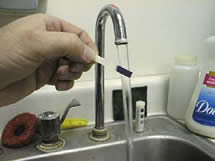
STEP 13 – Test the waterAfter the bleach solution is removed from the water system, sampling is recommended to make sure the well water tests negative for total coliform before you use it for drinking or cooking. MDH recommends using an accredited laboratory to test your water. Contact an accredited laboratory to get sample containers and instructions or ask your county environmental or public health services if they provide well water testing services. | 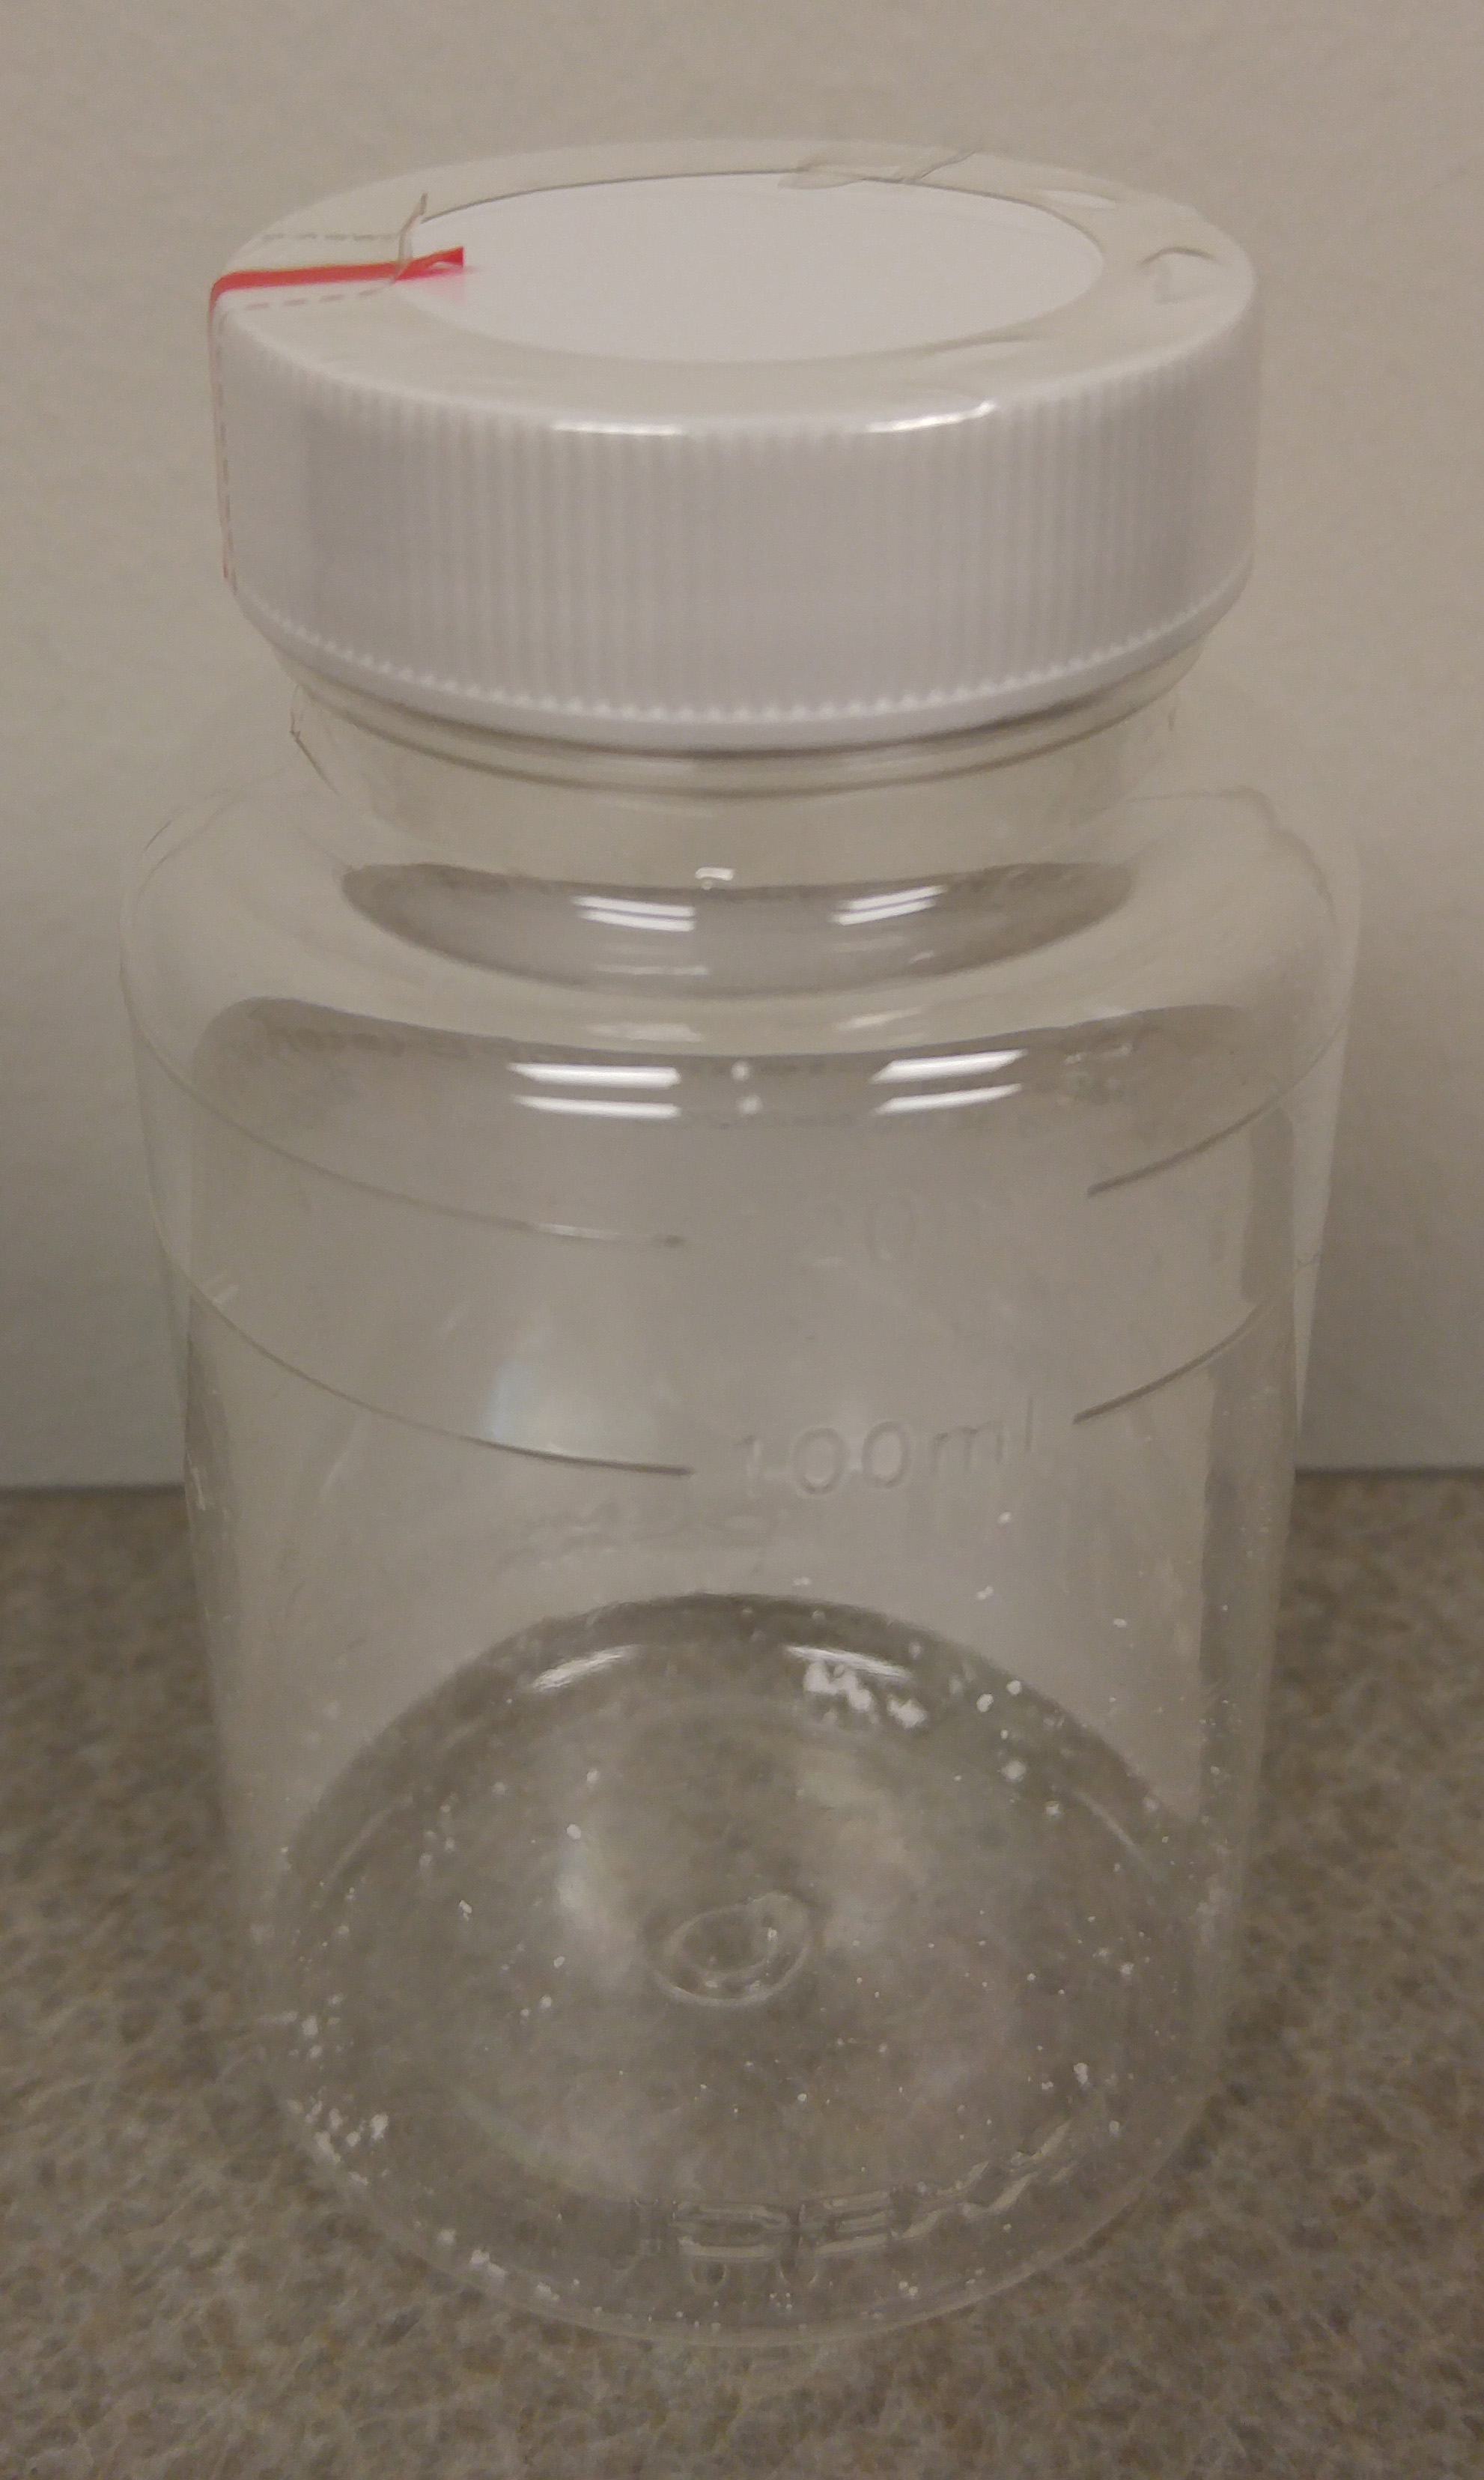 |
Follow-up
Total coliform may regrow in the water system. For this reason, it is important to retest your water between two to four weeks after disinfection. If total coliform is detected, repeat the disinfection procedure.
It is not unusual to disinfect a water system multiple times to eliminate total coliform if it has been growing in the system for an extended period of time. If disinfection attempts are unsuccessful, the well may need to be cleaned as well as disinfected. Contact a MDH licensed well contractor for further assistance.
For more information on your well and water system, see the “Well Owner’s Handbook (PDF)” available on MDH Well Management Section website.
Questions
Well Management Section
651-201-4600 or 800-383-9808
health.wells@state.mn.us
Go to > top